
Customize and Sell From One Piece
- RGB files print
- Global free tariff shipping
- Free mockup
- Bulk up to 72% discount


Join 30226 Creators on Discord


- Choose from 600+Explore products
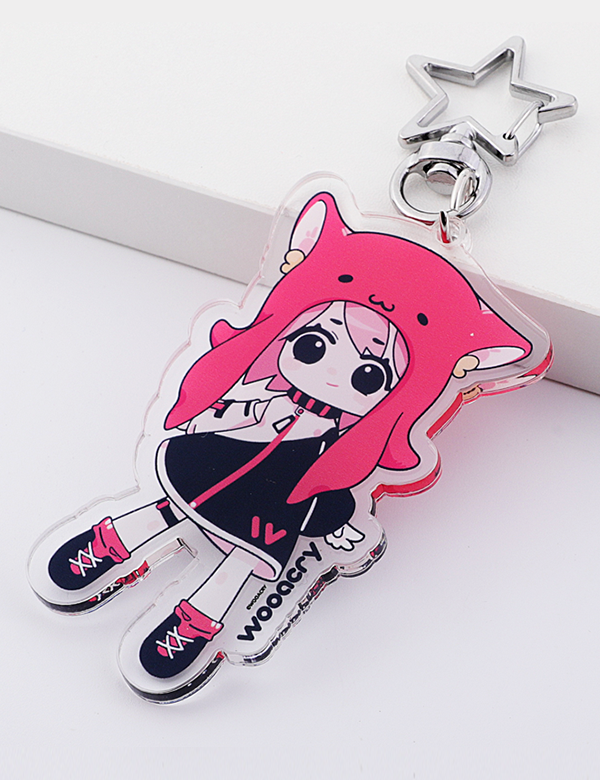
Grade-A custom products  Keychains
 Specials
 Standees
 Button Pins
 Stickers
 Prints


Campaigns Live On

- 1.Wooacry VIP MembershipUp to 10% off and get 2% store credit for each order.Join now
- 2.Wooacry Virtual ItabagAn online showcase with your ultimate collection.
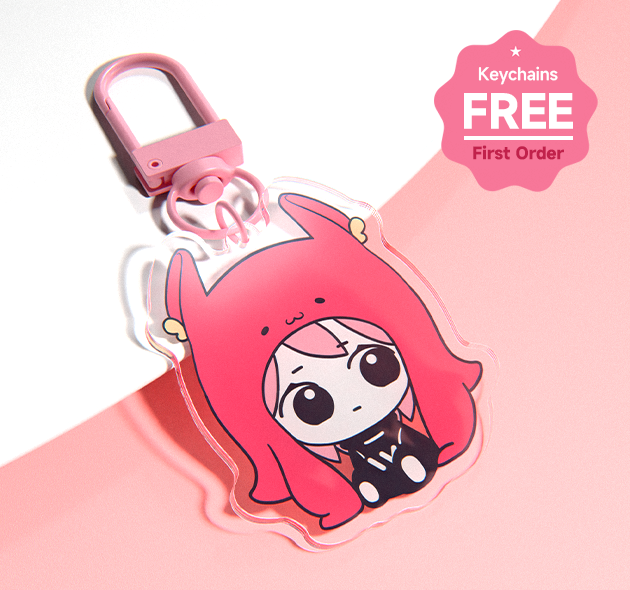
- 3.Free Keychains and 5% OFFExclusive perks for your first free order.
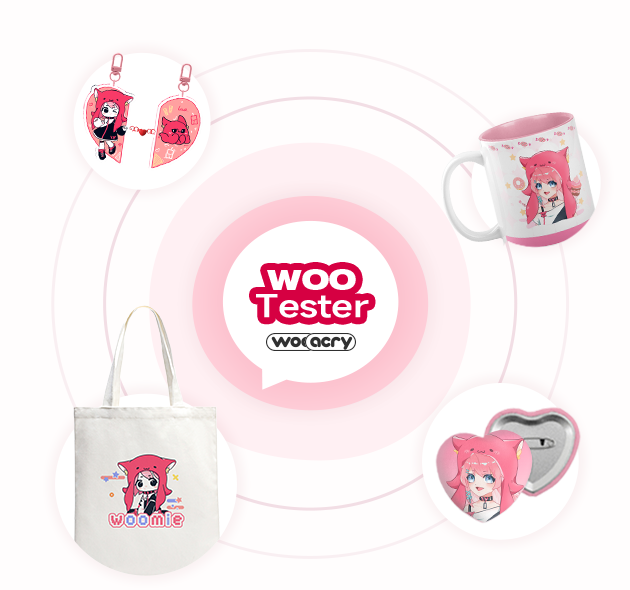
- 4.Wooacry Tester ProgramBecome official partner and get free samples.
Start customization in 3 easy steps
- Select ProductExplore from over 600 Grade-A products to find what you're interested in.
- Add Your DesignUse our free Product Creator, upload and edit design online, review the mockup and save your product.
- Order or SellAdd to cart and place your order with any quantity, get bulk discounts up to 72%. Or set profit margin and easily sell in your acggoods store.Get Started
Get free keychains and 5% off first order
Connect with 30226 creators, share, learn, grow and enjoy exclusive rewards.
Join Wooacry's Discord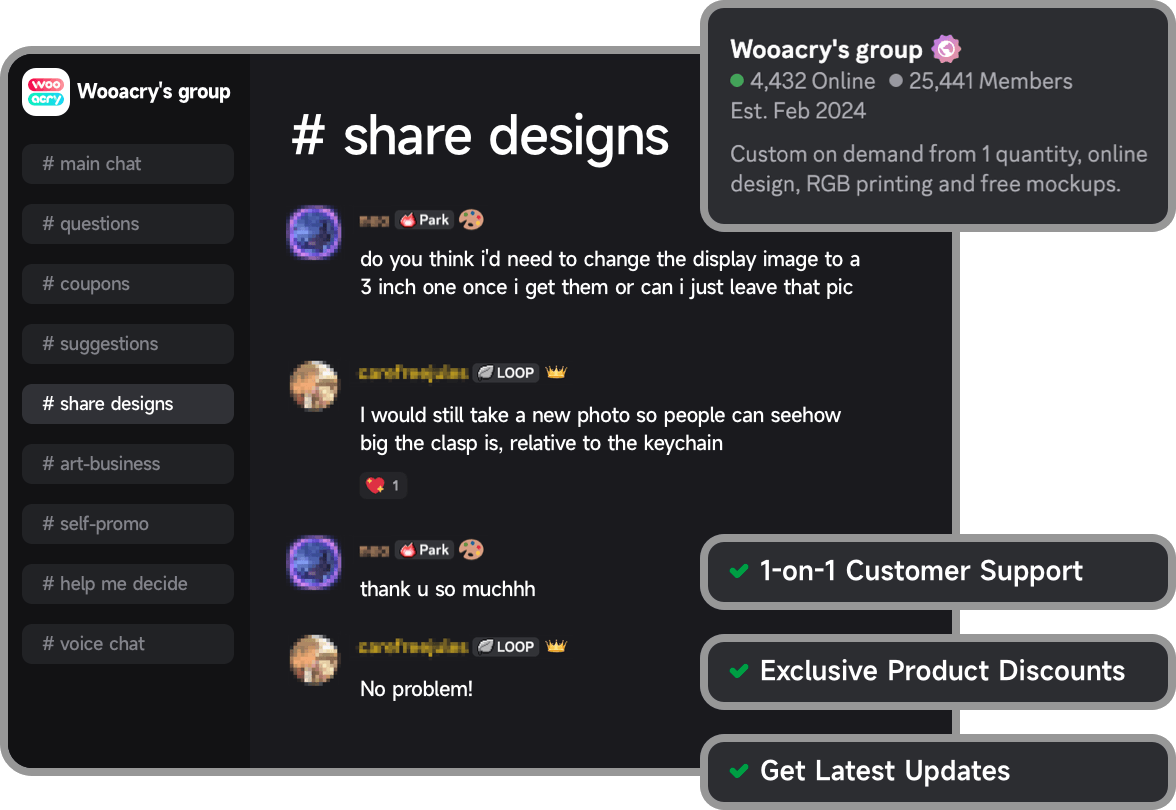
Trusted worldwide since 2023
- 100000Orders fulfilled totally
- 230+Countries and regions delivery
- 5Workdays fast turnaround
- FREETariff shipping with low cost
Ship to
Shipping cost
Transit time
Tax & duties
No MOQ and bulk order up to 72% discount
Discounts still available for different designs.
Select Product
Acrylic Keychains
Pins
Acrylic Standees
Stickers
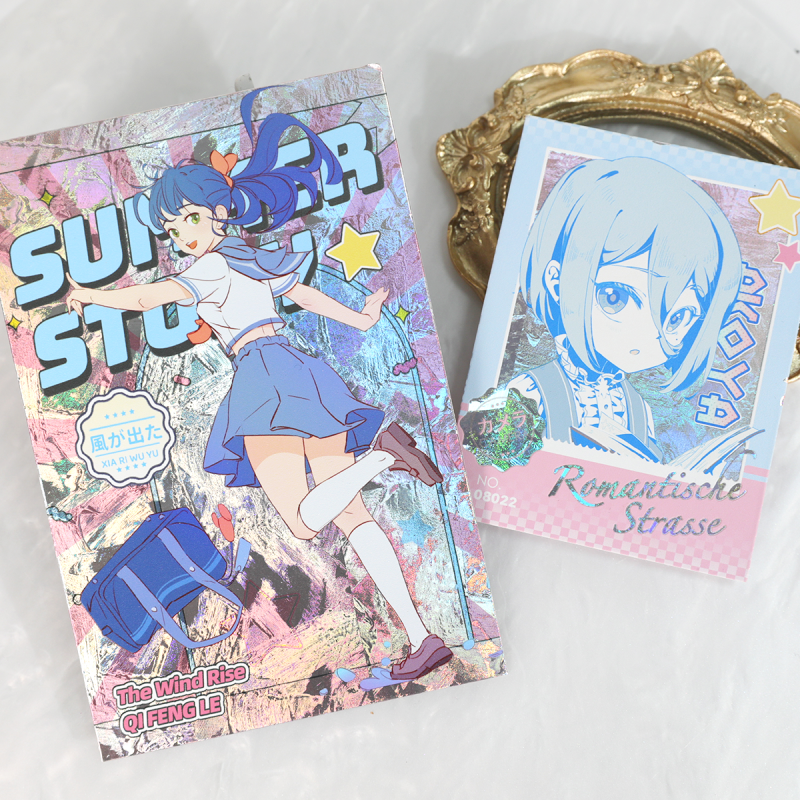
Photocard
Posters
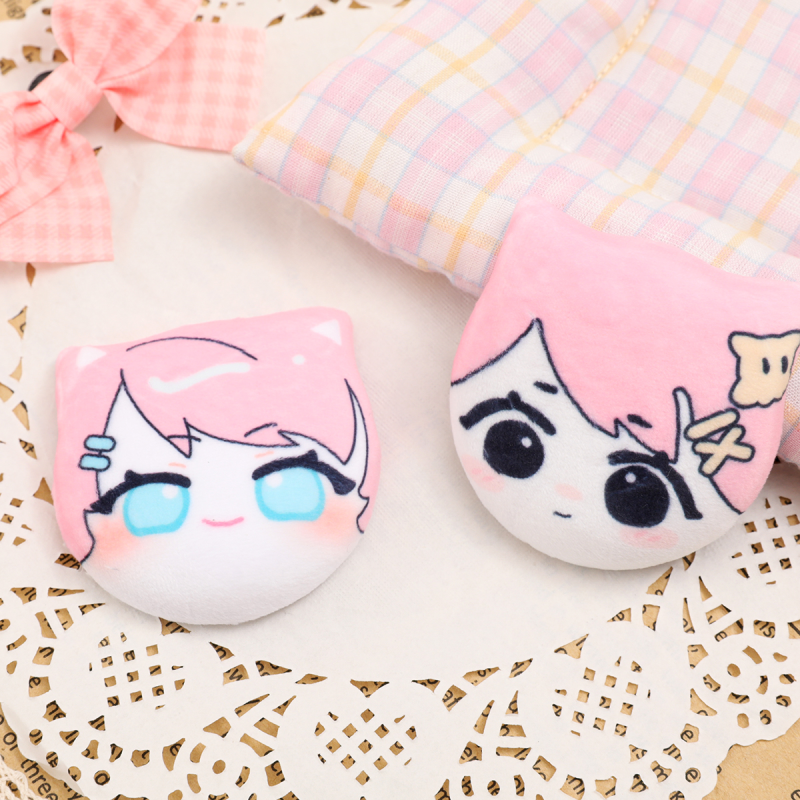
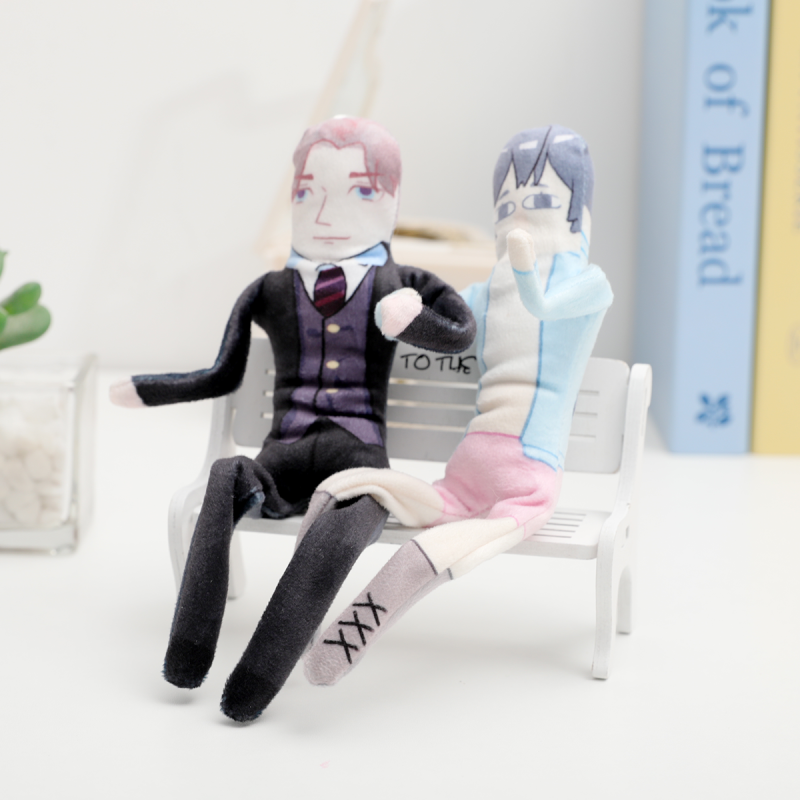
Plush Badges
Lenticular
Set Quantity
Discount:0.00%Discount Price:$2.48$2.48
Browse ProductsThis is an example, bulk discounts also apply to other products.
Make money while sleeping
You create, we handle the rest. No experience is required. Trusted by 23934 sellers.
Apply store 100% free